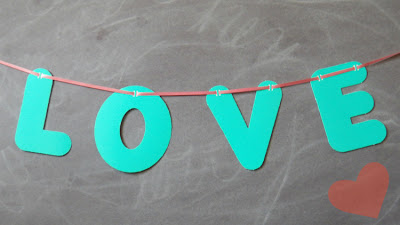
Making your own custom banner couldn't be much easier -
gather your supplies:
- ribbon hole punch (though a standard hole punch would work)
- small circle punch (scissors would do the trick as well)
- ribbon (thin enough to go through the hole punched by your ribbon hole punch)
- sticker make (glue stick would work)
- scrap scrapbook paper
- punch out letter (I get mine at the Dollar Tree)
step 1. punch out the letters you want for your banner
step 2. use the ribbon punch to punch holes in the top of your letters
step 3. repeat until all you letters have holes at the top (duh)
step 4. use the small circle punch to punch out small circles from your scrap scrapbook paper
step 5. punch as many circles as you have holes in the tops of your letters
step 6. run your small circles through your sticker maker
step 7. cut ribbon to desired length
step 8. thread your letters onto the ribbon
step 9. space out your letters to your liking and then use your circle stickers to secure the ribbon in place on the back side of the letters
Ta Da! You have yourself a custom banner in under 5 minutes!


2 comments:
Now I know what I'm making Mr. Man for our anniversary :) Can I come over and borrow your letter cutters? :)
I got the letters in a pack at the Dollar Tree, they have a bunch of different colors and the letters are preferated, so you just have to punch them out - out of the one pack of letters I made 2 banners and a sign for my nephews baseball game.
http://www.dollartree.com/teachers-supplies/Classroom-Decor/Letters-DC-4-inch-Ready-to-Use/208c443c443p294287/index.pro
Post a Comment