
What you need -
- a blank canvas market tote (you can find them at any craft store)
- painter's tape
- a sponge (foam) paint brush
- acrylic paint in your choice of colors (I went with gold & neon pink)
- textile medium
- cording (thread, string, etc) in a coordinating color
- a few large beads (you want them to be about an inch or so)
Before you start you want to mix your paint and textile medium as per the directions on the textile medium bottle so that the paint will adhere permanently to the fabric of the tote.

1. Use your painter's tape to make your stripes, in my case I decided on 3 stripes and tried to keep the spacing between the stripes the same thickness as the stripes themselves.
You want to make sure your press the tape down firmly so that you limit the chance to paint bleed, you can even iron the tape on a low temperature setting if you want.
2. Use a sponge brush to apply your stripes, making sure to be careful on your tape lines. You don't want to over saturate the canvas and end up with paint bleeds. You can layer the paint to get a more even coverage.
3. Once you are happy with the color of your stripes and they have had a few minutes to set up, go ahead peel up a bit of you tape to check for bleeds*.
Then go ahead and rip that tape off and enjoy your stripes!
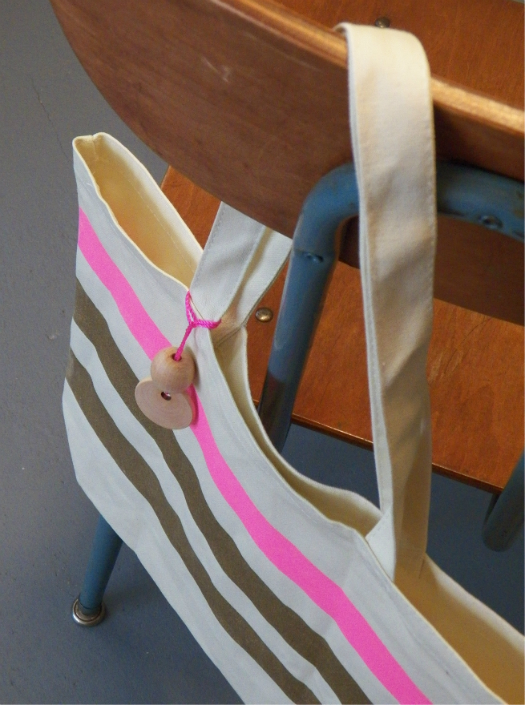
Once you are happy with your tote it is time to add the finishing touch - simply string your bead(s) on your cording (this can be as simple or as fancy as you want to make it) and them attach your beaded dangle to one of your totes straps and BOOM -

You've got yourself a customized tote bag!
*If you have bleeding you can use a paint brush and carefully paint on a clean edge.
No comments:
Post a Comment