


Supplies:
- at least two different colored honeycomb balls (or honeycomb paper)
- scissors
- stapler
- pen
- cardstock
- glue
- cardstock in multiple colors
- 1 inch round paper punch

The first thing you want to do is cut off the top and bottom of your flat honeycomb balls.


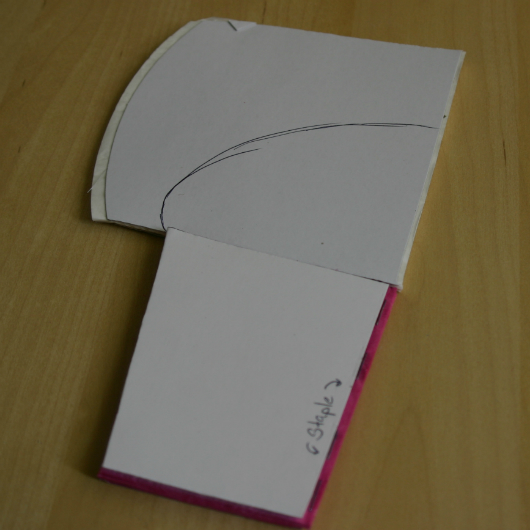
Now it is time to cut the top. Use your cupcake bottom to help determine the size and shape of your cupcake top. Just free hand the top the shape of the top of the cupcake making sure you have a very flat bottom. Run a row of staples along what will be the inside of your cupcake top.

Glue your card stock pieces on to your to you cupcake cut pieces and let dry.

Now it's time to open your cupcake, I use some white paper clips to secure the cupcake along the back side, but if you plan on leaving it open permanently you can just use some glue.

Optional: if you want to add a little more pizazz to your cupcake punch out some multi colored circles using your paper punch and your colored cardstock. Treat these like sprinkles and glue them on top of your cupcake.
No comments:
Post a Comment